Application of Paint Protection Film
Application of Paint Protection Film
No more chipped paint!
Paint protection applied through spray
The paint on the leading edge of automobile hoods is vulnerable to corrosion from gravel and sand. Until recently, the hood could only be protected by installing a bra or by applying paint protection film. Not only are bras unsightly, but they also reduce gas mileage and collect road debris, which degrades the paint. Paint protection film looks and functions significantly better, and you can also employ expert installation. DIYers can now apply a product to guard against paint chips: spray-on/peel-off paint protection film.
This paint film can now be manufactured by several businesses, but some chose the 3M Paint Defender product because it lasts up to a year. It costs approximately $25 and has a sufficient cloth to cover the lower one-third of your hood. It is available at any auto parts store. Let us walk you through the preparation and installation procedure for DIY paint protection film.
You will also need vehicle-washing equipment, poly sheeting to cover the car and the ground, masking tape with a neat edge, and a microfiber cloth. Optionally, purchase the installation kit and spray trigger. The duration of the task is less than two hours. Here is the procedure.
Prepare the car
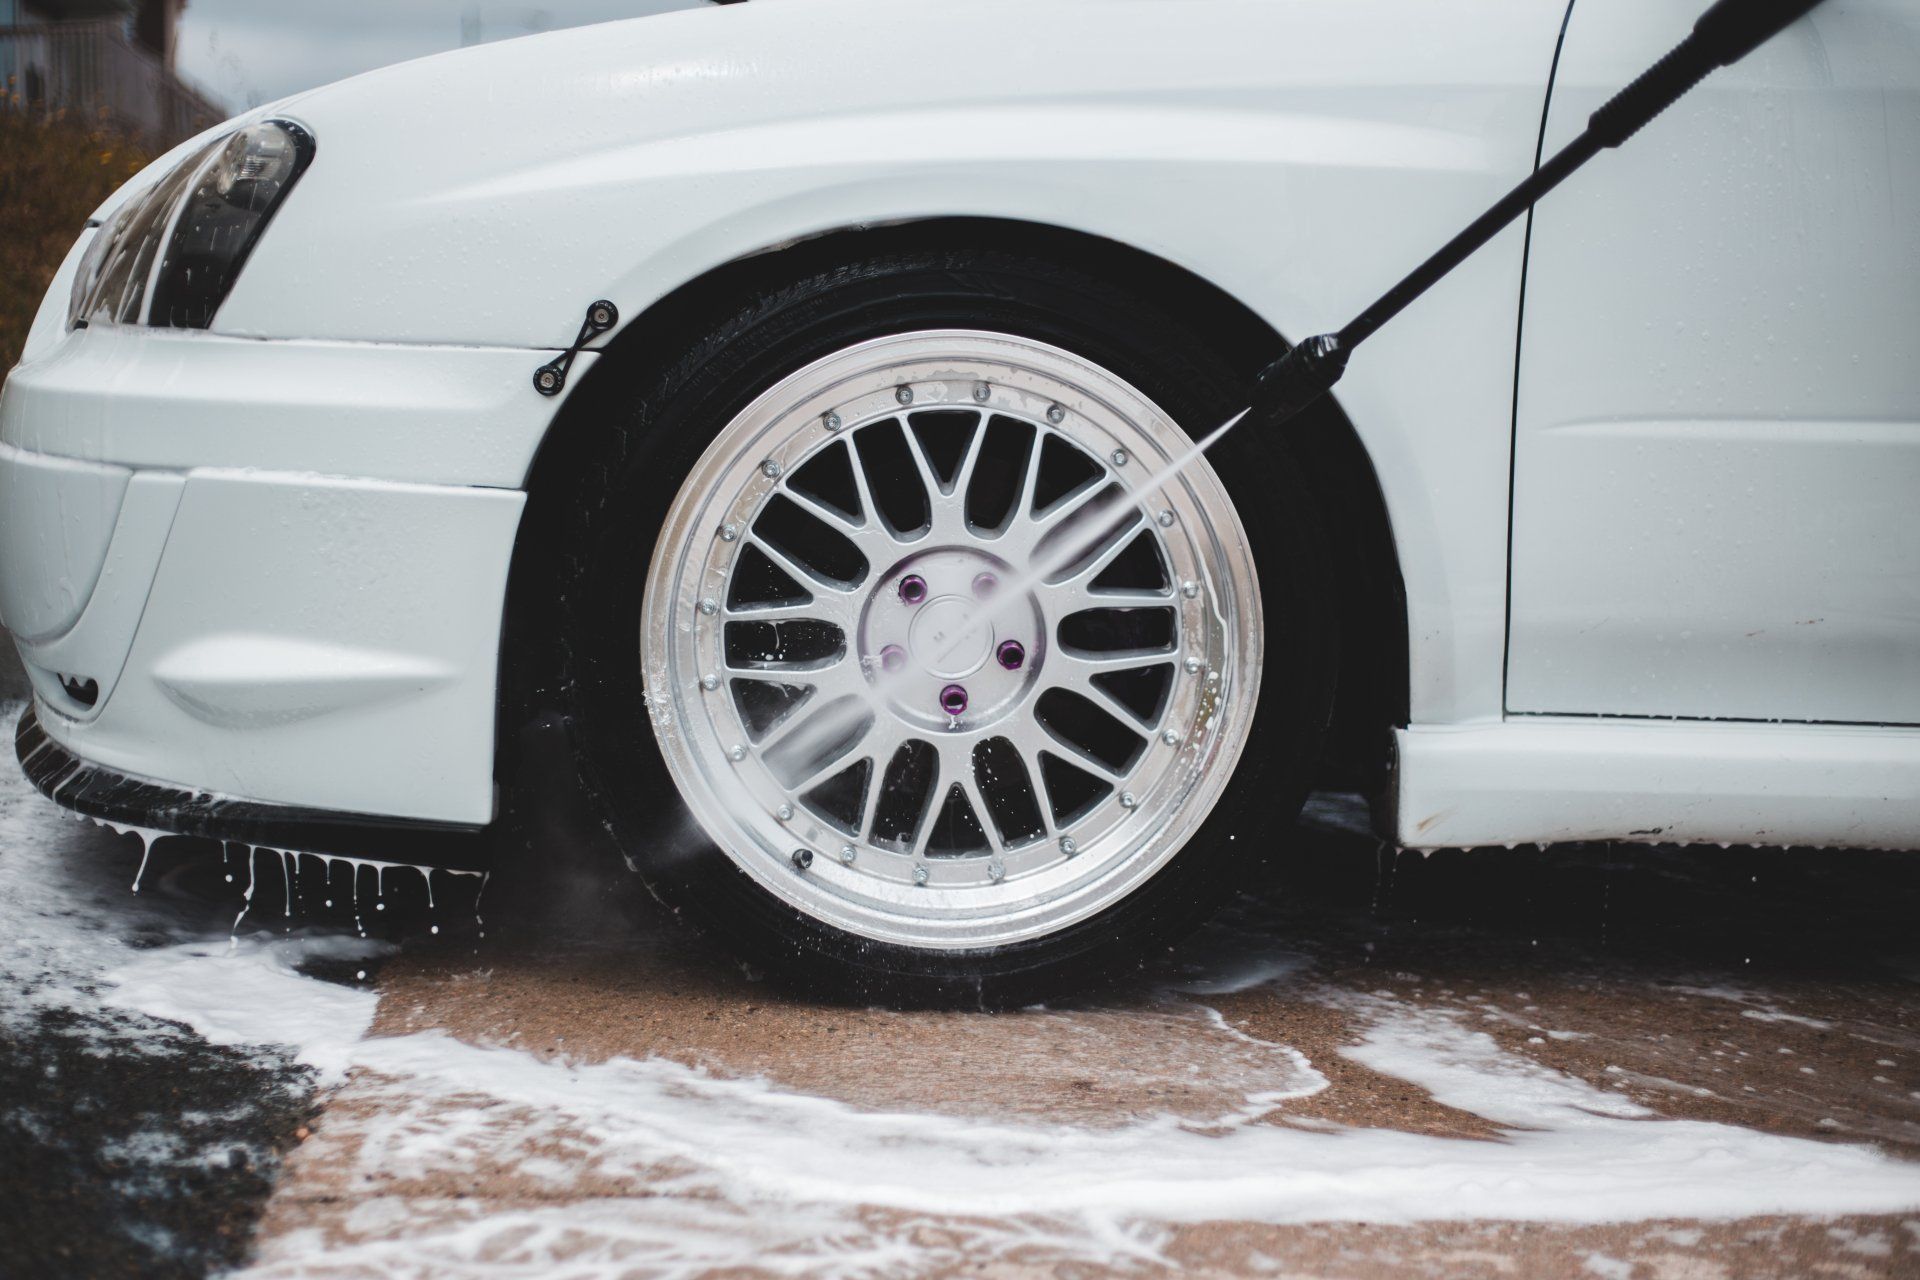
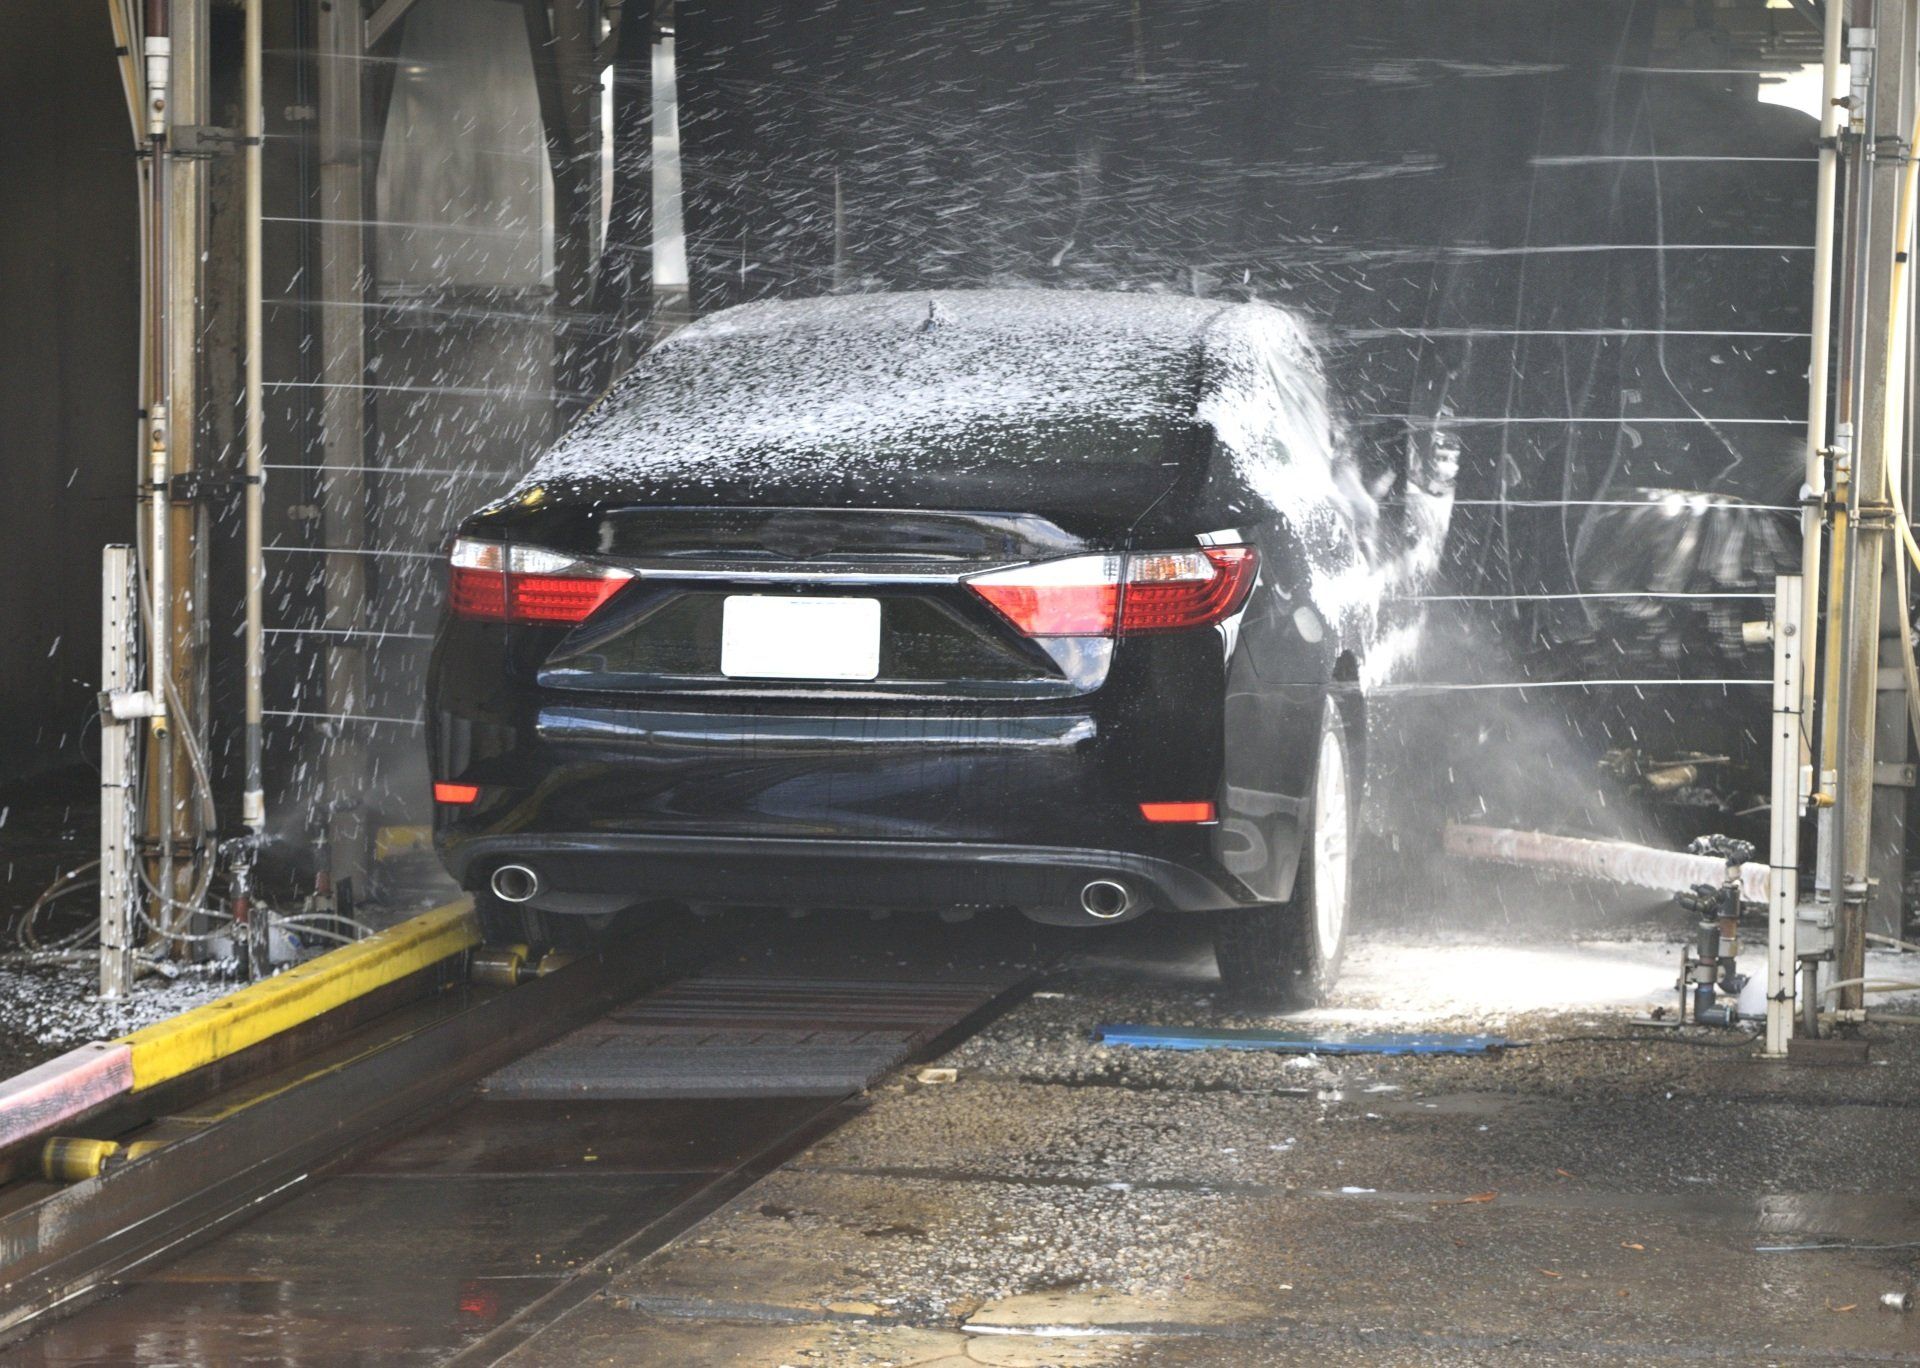
The engine and hood must be cool prior to application. A hot engine will heat the hood and force-dry the spray between applications, nullifying its self-leveling capability. Check the forecast and choose a time when it will be cool, dry, and tranquil. The night before, park the vehicle in a shady spot. Then, begin the installation of the paint protection film by cleaning the vehicle with car wash soap. Be cautious about removing all evidence of insect excrement and tar. Then, wash and dry thoroughly.
Next, remove the hood and prop it open approximately 4 inches with a paper towel roll or a block of wood.
Tarpaulin, adhesive tape, and wax
Apply a polyethylene sheet to the entire car. Then, cover the ground with tarps to capture any overspray. Starting at the grille, cut straight up the middle of the poly, stopping approximately 18 inches from the bottom border of the hood, using scissors. Then, cut out the fenders to the right and left, forming a "T" shape. To prevent the flaps from sliding while spraying, tuck them under the hood and tape them within the engine compartment. Tape the remaining sheets to the vehicle and the floor to prevent them from blowing onto the wet finish.
Next, attach the "T" to the hood using tape. Apply another layer of tape to the edge between the spray film and the rest of the hood to create a neat edge. Apply the provided synthetic wax after the polyurethane has been put in. Waxing is an essential step to make paint protection film removal easier a year from now. Even if you've recently waxed the vehicle, use the provided wax packet to wax it again.